


Laying your own driveway with resin driveways is a popular and cost-effective option for homeowners who want to improve the appearance and functionality of their driveway. Resin bonded slabs are a type of paving material that combines the durability of concrete with the aesthetic appeal of natural stone.
In this article, we will discuss the benefits of resin bonded slabs driveways and provide a step-by-step guide on how to lay your own driveway using this material.
Benefits of Resin Bonded Slabs Driveways
Resin bonded driveways offer several benefits over other paving materials, including:
- Durability: Resin bonded slabs are highly durable and resistant to wear and tear. They are able to withstand heavy traffic and are less likely to crack or chip over time.
- Low maintenance: Resin bonded slabs are easy to maintain and require minimal upkeep. They do not need to be sealed or resealed like other paving materials and can be easily cleaned with a pressure washer.
- Aesthetically pleasing: Resin bonded slabs come in a wide variety of colors and patterns, making them a versatile choice for driveway paving. They can be customized to match the style of your home and add to its curb appeal.
- Slip-resistant: Resin bonded slabs are slip-resistant, making them a safe choice for driveways in areas with wet or icy weather conditions.
- Eco-friendly: Resin bonded slabs are made from natural materials and are environmentally friendly. They do not produce any toxic chemicals or harmful emissions during production or installation.
How to Lay Your Own Resin Bonded Slabs Driveway
Plan and Prepare
Before laying your resin bonded driveway, you will need to plan and prepare the area. This includes measuring the space, removing any existing paving or debris, and excavating the soil to a depth of at least 200mm. You will also need to ensure that the area is level and compacted.
Lay a Sub-Base
Once the area has been prepared, you will need to lay a sub-base of crushed stone or gravel. This will provide a stable foundation for the resin bonded slabs and prevent them from sinking or shifting over time. The sub-base should be at least 100mm deep and compacted using a vibrating plate compactor.
Install an Edging
To prevent the resin bonded slabs from shifting or spreading, you will need to install an edging along the perimeter of the driveway. This can be made from concrete or plastic and should be firmly secured to the ground.
Mix the Resin Bonding
Next, you will need to mix the resin bonding according to the manufacturer’s instructions. This will typically involve mixing the resin with a hardener and any desired color additives. Once mixed, the resin should be poured onto the sub-base and spread evenly using a trowel.
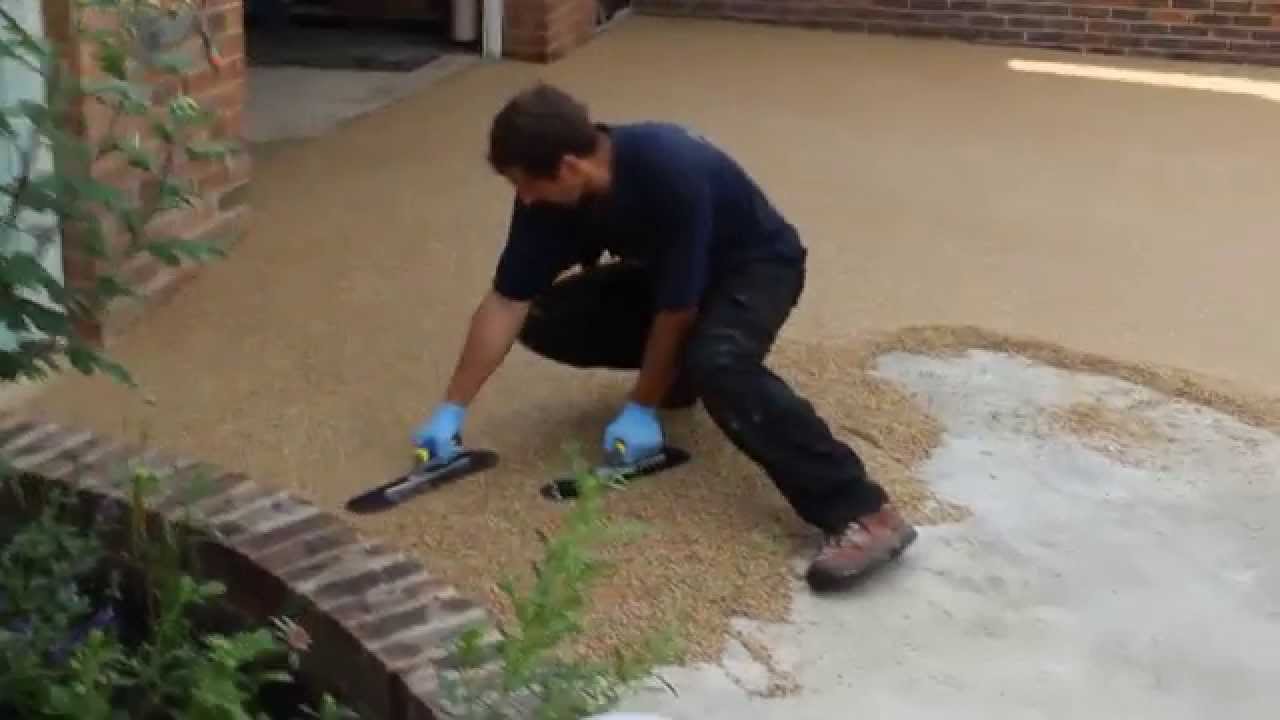
Lay the Resin Bonded Slabs
After the resin bonding has been applied, you will need to lay the resin bonded slabs onto the surface. These should be carefully placed onto the resin bonding and pressed firmly into place using a rubber mallet. The slabs should be spaced evenly and any excess resin bonding should be removed using a scraper.
Allow to Cure
Once the resin bonded slabs have been laid, you will need to allow them to cure for at least 24 hours. During this time, the resin bonding will harden and bond the slabs to the sub-base.
Apply a Sealer
Finally, you may choose to apply a sealer to the surface of the resin bonded slabs. This will provide added protection against weathering and wear and tear, and can help to prolong the lifespan of the driveway.
Maintenance of Resin Bonded Slabs Driveways
While resin driveways are generally low maintenance, they do require some upkeep to keep them looking their best. Regular cleaning is important to prevent dirt, debris, and stains from accumulating on the surface.
A pressure washer can be used to clean the surface of the driveway, but care should be taken not to use too much pressure, which can damage the resin bonding. If you notice any damage or cracks in the surface of the driveway, it is important to address them as soon as possible.
This will help prevent further damage and ensure that your driveway lasts as long as possible. Repairs can typically be made by filling in the damaged area with additional resin bonding or resin-bound aggregates.
Cost of Resin Bonded Slabs Driveways
The cost of laying a resin driveway will depend on several factors, including the size and complexity of the project, the type and quality of the materials used, and the location of the property. However, resin bonded slabs driveways are generally less expensive than other paving materials, such as concrete or asphalt.
One of the reasons for the lower cost is that resin bonded slabs driveways require less preparation work than other paving materials. Additionally, the installation process is relatively quick and easy, which can help to keep labor costs down.
It is important to note, however, that while resin bonded slabs driveways are less expensive upfront, they may require more maintenance over time than other materials. This is something to consider when budgeting for your driveway project.
If you are looking for a reliable and high-quality resin bonded slabs driveway installer, SUDWell Resin Driveway is an excellent choice. They offer a wide range of resin-bound and resin-bonded surfacing solutions for both residential and commercial properties.
SUDWell Resin Driveway uses only the highest quality materials and employs skilled and experienced professionals to ensure that every project is completed to the highest standards. They offer a range of design options, including a variety of colors, patterns, and finishes to suit every taste and budget.